Forum Replies Created
-
AuthorPosts
-
 LittleManKeymasterLittleManKeymasterLittleManKeymasterLittleManKeymaster
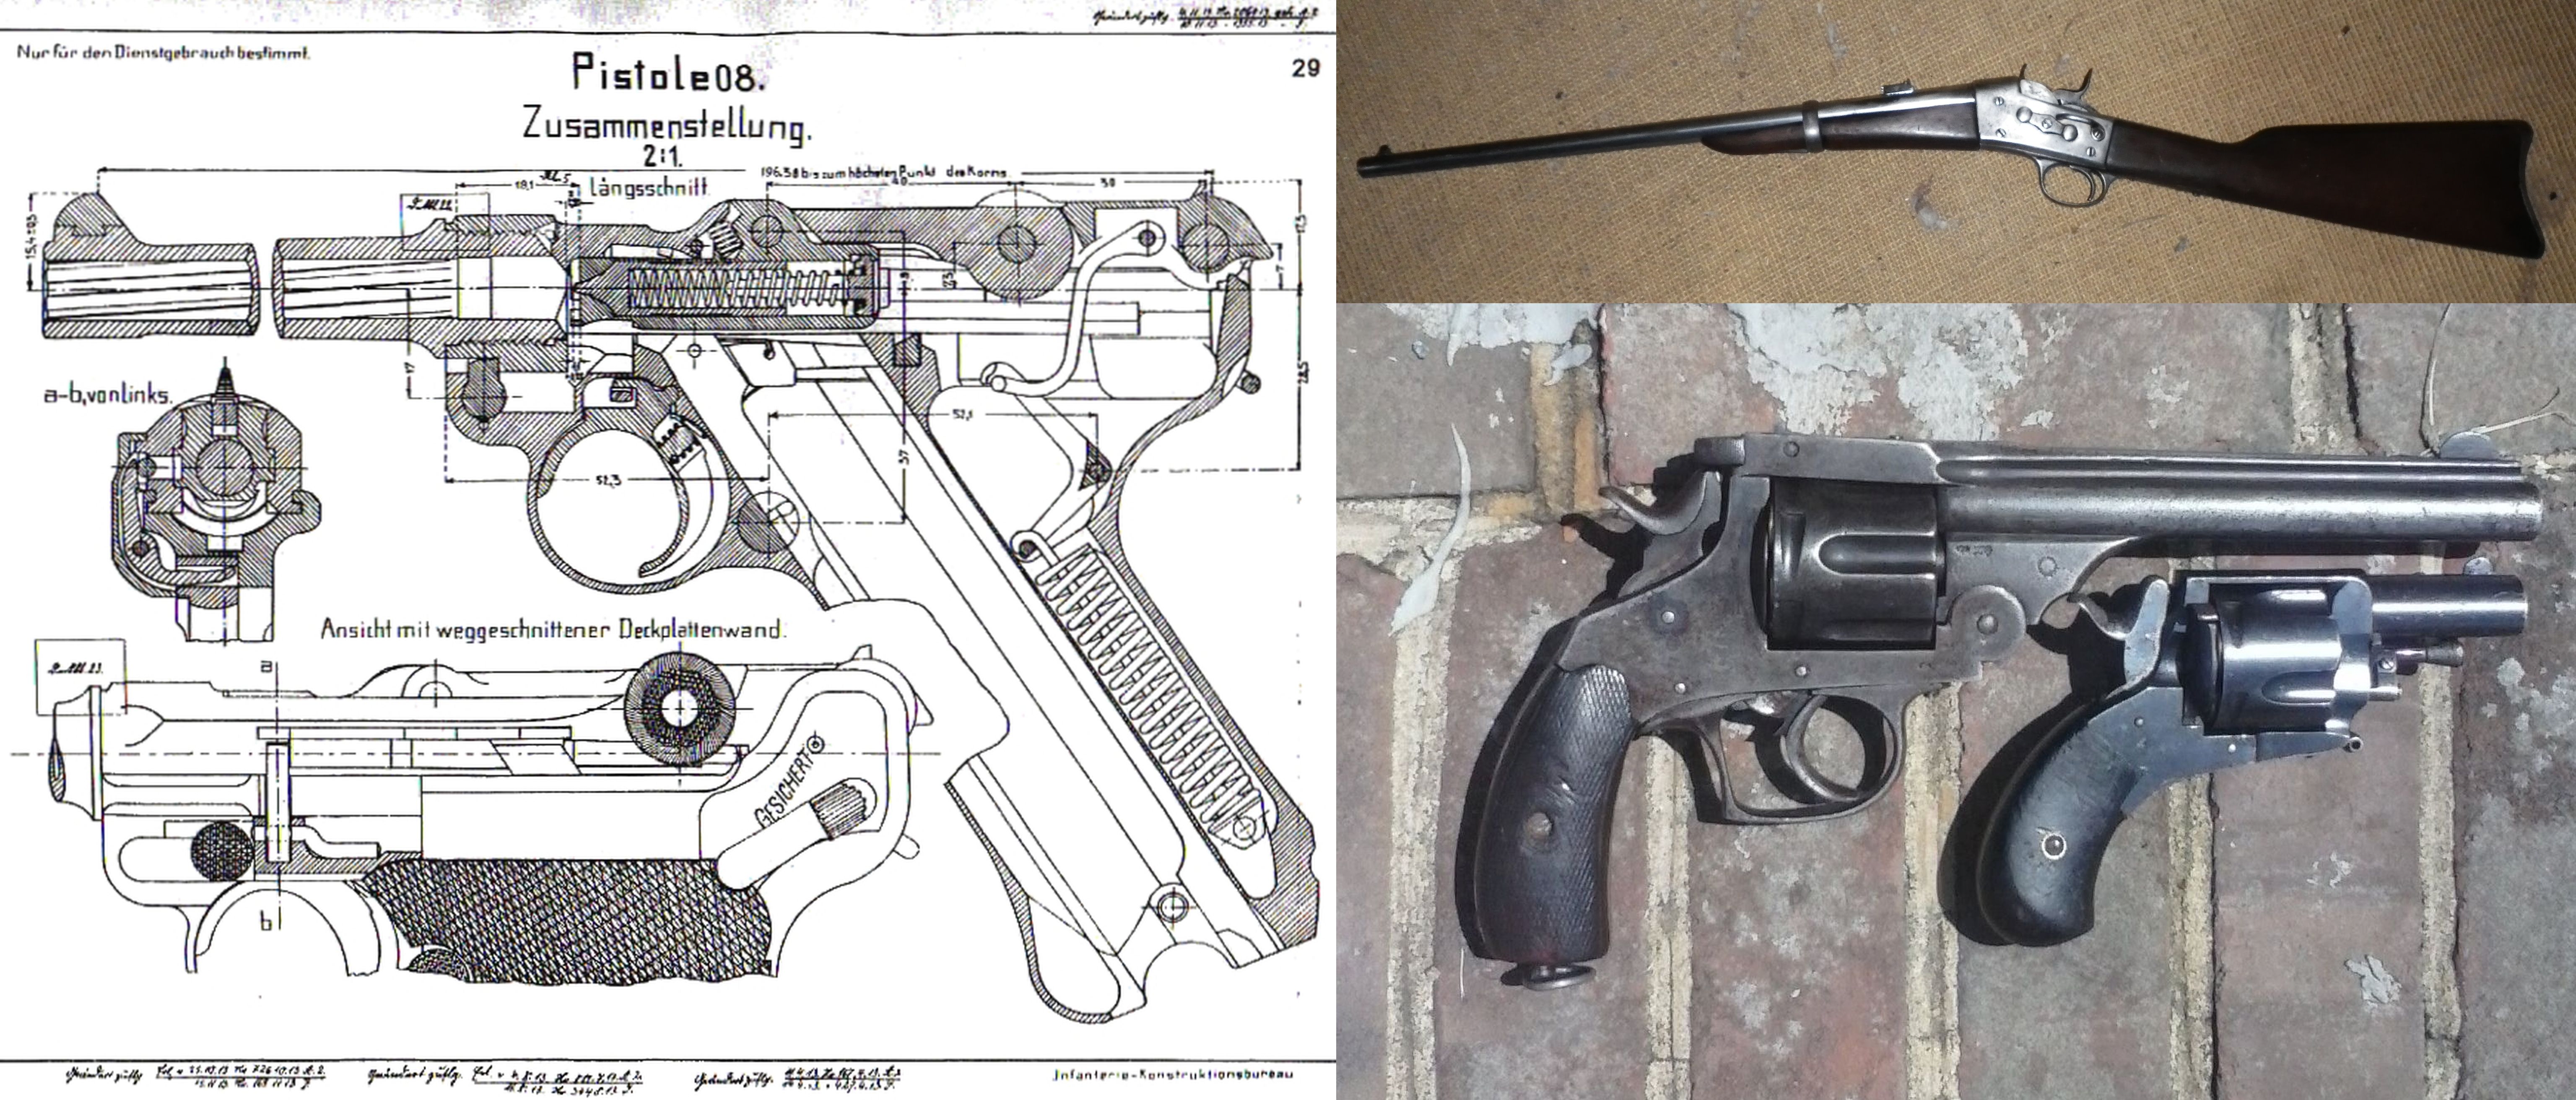
Final video of the series. The Blue prints for the revolver built in this video series.
It is recommended you use 4140 steel for the cylinder as shown.
Have fun.
Send us pictures of your builds.
LittleManKeymasterVideo 15 in the series, buillding the loading gate edtennt pin, making the coil spring for the loading gete detent from music wire, making and fitting and attaching a firing pin, making a pin to help hold the grips in place under recoil, making the ejector thumb piece, making the ejector rod and spring, making and installing the front sight, base pin plunger, mechanical completion, cold bluing and the test firing.
LittleManKeymasterVideo 14 of the series, building the ejector tube, the ejector, attaching the ejector tube, making a cutter to cut the loading gate relief, xutting the gate relief, making the loading gate door, fitting it.
LittleManKeymasterVideo 13 in the series. This video deals with turning the barrel to the proper outside diameter, threading the barrel, fitting the barrel, installing a forcing cone, building a rifling cutter, cutting rifling,
LittleManKeymasterVideo 12 in the series, making a chamber reamer (from O-1 tool steel), heat treating the reamer, drilling a barrel (it is perhaps, in the interest of avoiding work, worth noting pre-drilled, pre-rifled barrel blanks are available from several commercial sources).
LittleManKeymasterVideo 11, making (rosewood) grips, grip screw fabrication, a threaded bushing is made prior to drilling the chambers, xutting the chambers (two methods discussed), mention of reaming (Pacific tools sells chamber reamers, so (sometimes) does Brownell),
LittleManKeymasterHere is part 10 which shows fabricating the bolt, heat treating the bolt, building the ratchet hand, pinning the ratchet pin in place, cutting the ratchet teeth on the cylinder witha 60 degree dovetail cutter, scribing and cutting the bolt notches in the cylinder (a woodruff key cutter is used).
LittleManKeymastervideo #9, finishing the grip, slimming spring stock, making the mainspring, heat treating a spring, tempering the spring, building the hammer roller and the trigger spring.
LittleManKeymasterVideo #8, the trigger guard, grip,
LittleManKeymasterVideo #7 in the series. Cutting and shaping the trigger a recess in the hammer for the bolt, tempering the screws, fitting pins, fabricating a cutter for the frame’s cylinder ratchet clearance, building a frame fixture, shaping the loading gate cuts, the base pin.
LittleManKeymasterPart 6B continuing work on the major screws (4130 steel) and also shaping the hammer.
LittleManKeymasterHere is part 6A. The hammer, hammer screw, trigger and bolt screw are worked on.
LittleManKeymasterHere is part 5 of the series. Still working on the frame,
LittleManKeymasterHere is video 4 in the series
LittleManKeymasterHere is video 3 of the series
LittleManKeymasterHere is video 2b of the series
LittleManKeymasterHere is video 2a of the series. Fabrication of the revolver frame is begun.
-
AuthorPosts